
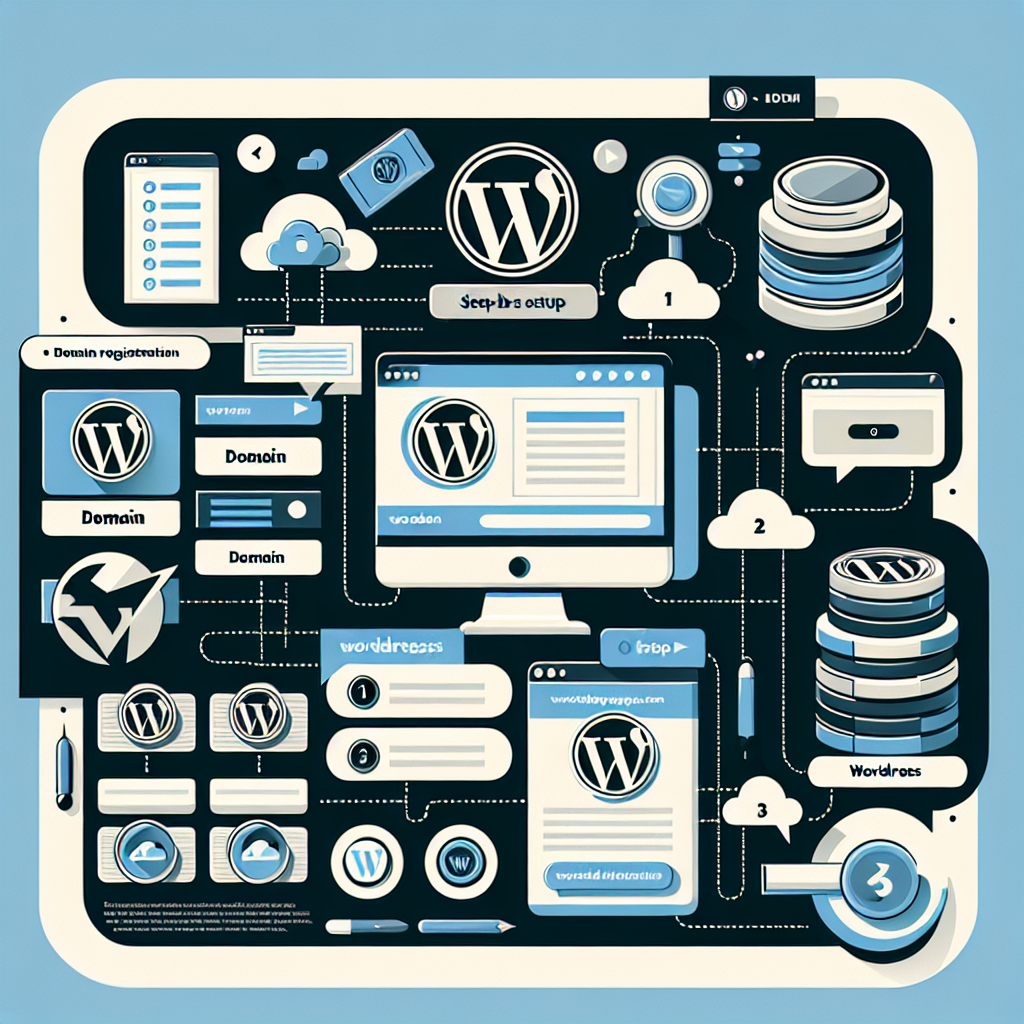


Launching a WordPress site starts with a deceptively simple decision: where your domain lives and how it connects to your hosting. Get this right, and everything else—from SEO to email deliverability—works more smoothly. Get it wrong, and you’ll trip on DNS settings, SSL errors, and renewal surprises. This guide walks you through domain registration with WordPress hosting step by step, with market-savvy tips that reflect what’s changed in the last couple of years.
Think of a domain as your street address and your WordPress hosting as the house. DNS is the directions your visitors follow to get there. We’ll wire them together the right way, fast.
Who this is for (and what you’ll get)
If you’re starting a new WordPress site, migrating from another provider, or formalizing a side project into a proper brand, this walkthrough will help you:
– Decide whether to buy your domain from your host or a standalone registrar
– Register and secure your domain with privacy and proper ownership
– Point DNS correctly to your WordPress hosting
– Set up SSL, performance, and email records the right way
– Avoid common pitfalls that cost time, traffic, or money later
Along the way, you’ll get current market insights—like why .com renewals have crept up, why Google Domains customers moved to Squarespace, and what to expect from new TLDs.
Two common paths: bundled vs. decoupled
You have two solid options:
1) One-stop (buy the domain from your WordPress host)
– Easiest setup: hosting provider configures DNS automatically.
– Often includes a “free domain for the first year” on annual plans.
– Fewer moving parts, simpler support path.
Trade-offs:
– Domain pricing/renewals can be higher after year one.
– Moving the domain later can be slower if you outgrow the host.
Good fits: WordPress.com, Bluehost, SiteGround, some managed hosts.
2) Decoupled (buy the domain from a dedicated registrar)
– Full control, easy to change hosts without transferring your domain.
– Often lower long-term renewal costs and clearer DNS tools.
– Great if you manage multiple domains or services (email, subdomains).
Trade-offs:
– You must point DNS yourself (nameservers or records).
– Two support teams instead of one.
Popular registrars: Cloudflare Registrar (no markup renewals for many TLDs), Namecheap, Porkbun, Squarespace Domains (absorbed Google Domains in 2024). Choose one with strong security features (2FA, domain lock, DNSSEC, registry support).
Smart rule of thumb: If simplicity now matters most, bundle. If long-term flexibility matters, decouple.
Pre-flight: Industry shifts to know in 2024–2026
– .com renewal costs rose in recent years: The registry (Verisign) has been allowed incremental hikes, and many registrars passed them on. Expect modest increases over time—budget for renewals, not just year one.
– Google Domains migrated to Squarespace in 2024: If you used Google Domains, double-check your DNS, auto-renew, and payment after the migration.
– New TLDs keep launching (e.g., .zip and .mov in 2023 sparked phishing concerns): Choose trusted registries and consider user perception. For mainstream businesses, .com, .org, or reputable country codes (.de, .nl, .ca) still build the most trust.
– Privacy and verification: GDPR masked WHOIS for many TLDs, and RDAP is the modern directory protocol. Some country-code TLDs (.us, .au) impose stricter eligibility and may not allow proxy privacy—check rules before buying.
– Security baselines improved: Free SSL (Let’s Encrypt) is standard; DNSSEC and CAA records are easier to enable; hosts auto-issue certificates upon domain connection.
Step-by-step: Domain registration with WordPress hosting
Step 1: Choose your WordPress hosting model
– WordPress.com: Hosting + domain registration in one dashboard. Minimal technical work; ideal for simple sites.
– Managed WordPress hosts (e.g., WP Engine, Kinsta): Performance, backups, staging, support tuned for WordPress. You’ll typically buy your domain elsewhere or through the host.
– General hosts (e.g., Bluehost, SiteGround): Shared or managed WordPress with easy installers and domain bundles.
– Cloud-based DIY (e.g., a VPS via DigitalOcean/Linode): Maximum control; you’ll manage DNS, SSL, and hardening. Best if you’re comfortable with sysadmin tasks.
Tip: Prioritize uptime SLAs, support responsiveness, staging sites, automatic backups, and built-in caching/CDN. Check where their data centers are if latency matters to your audience.
Step 2: Decide where to register your domain
– If bundling: Add a domain at checkout with your hosting plan.
– If decoupling: Create an account at a registrar known for security and transparent renewals. Enable two-factor authentication and set account recovery options on day one.
Pro move: Even if you bundle, consider moving email to a third-party provider (e.g., Microsoft 365, Google Workspace) for deliverability and independence.
Step 3: Find and vet your domain name
Search for domains and shortlist 2–3 options:
– Keep it pronounceable, short, and brandable. Avoid hyphens and confused spellings.
– Check social handle availability to keep branding consistent.
– Consider TLD fit:
– .com is still king for global trust.
– .org suits nonprofits and communities.
– Country codes (ccTLDs) rank well locally but have eligibility rules.
– New TLDs are creative and often available, but watch audience perception.
– Run a basic trademark search in your market to avoid legal pitfalls.
– If acquiring a taken name, consider reputable aftermarket brokers or marketplaces. Set a hard budget ceiling—premium renewals can be steep.
Example: If acme.com is taken, try acmehq.com, acmehealth.com (contextual), or acme.co if your audience is startup-savvy.
Step 4: Register the domain (and lock down ownership)
At checkout:
– Use your real contact details. ICANN requires accurate registrant info. You’ll get a verification email—confirm it within the window (often 15 days) or your domain may be suspended.
– Enable domain privacy/proxy if allowed by your TLD (some ccTLDs don’t permit it). This masks your contact info from spammers and scrapers.
– Turn on auto-renew, add a backup payment method, and calendar a renewal reminder 30 days before expiry.
– Lock the domain (Registrar Lock) after purchase to prevent unauthorized transfers.
Optional but strong:
– DNSSEC: Protects against DNS tampering. Many registrars and hosts now support one-click DNSSEC.
– Purchase 2–3 years upfront if your budget allows to buffer against price hikes and ensure continuity.
Step 5: Point your domain to your WordPress host
You have two ways:
Option A: Change nameservers to your host
– Easiest if you want your host to manage DNS (and auto-create A, AAAA, CNAME, and MX records).
– At your registrar, replace the default nameservers with those provided by your host (e.g., ns1.host.com, ns2.host.com).
– Propagation is typically quick (minutes to a few hours), but allow up to 24–48 hours in edge cases.
Option B: Keep registrar DNS and add DNS records
– Best if you want full control or use a DNS provider like Cloudflare.
– Create:
– A record (and AAAA if supported) for your root domain pointing to your server IP
– CNAME for www to your root
– Any host-specific records your provider requires (sometimes a CNAME to a platform endpoint)
– Keep TTLs low (300 seconds) while you’re configuring, then raise to 1–4 hours for stability.
Which to choose? Nameservers = simplicity. Custom records = control and easier future host changes.
Step 6: Install WordPress (or create the site)
– WordPress.com: New site wizard guides you and ties the domain after purchase or import.
– Managed/general hosts: Use their WordPress installer. Choose a data center near your audience.
– DIY server: Use a one-click image or a script like WordPress + Nginx + PHP-FPM. Secure with a firewall, fail2ban, and automatic updates.
Set your site title, admin email (use a permanent email address you control), and strong admin password. Add a second admin as a backup user.
Step 7: Connect the domain inside your host
Most hosts require you to add the domain in their control panel:
– Add primary domain and optionally set the www redirect (choose either root or www as canonical).
– If you used nameservers, the host often auto-validates ownership.
– If you kept DNS at the registrar, follow host prompts to add a verification TXT record to prove control.
After this, the host usually provisions an SSL certificate automatically.
Step 8: Enable SSL and force HTTPS
– Check that a padlock appears for both root and www.
– In WordPress Settings > General, set both WordPress Address (URL) and Site Address (URL) to https.
– Install a redirect (usually via host toggle or server config) to force HTTP to HTTPS and unify www vs non-www.
– Optional but recommended:
– HSTS (strict transport security). Enable via host toggle or header, but avoid preloading until you’re sure DNS won’t move often.
– CAA record in DNS limiting which Certificate Authorities can issue for your domain (e.g., only Let’s Encrypt).
Step 9: Set up email and authentication records
If you’re using a third-party email provider:
– Add MX records provided by your email provider.
– Add SPF (TXT), DKIM (TXT/CNAME), and DMARC (TXT) to improve deliverability and protect your brand.
– Use a subdomain like mail.yourdomain.com if needed for IMAP/POP.
If you’re not setting up email yet:
– Consider a simple catch-all forwarding or a help@yourdomain.com inbox so contacts don’t bounce.
Step 10: SEO and launch checks
– Verify domain in Google Search Console and Bing Webmaster Tools (DNS TXT easiest).
– Set your preferred domain (www or non-www) and submit your XML sitemap (SEO plugins generate it).
– Ensure Settings > Reading “Discourage search engines” is off once you launch.
– Create 301 redirects for any legacy URLs if you migrated from another site.
– Test performance: Enable host caching, consider a CDN, compress images, and lazy-load.
– Check Core Web Vitals with PageSpeed Insights; fix large layout shifts and slow render-blocking scripts early.
Step 11: Security basics and backups
– Ensure daily backups (plus on-demand before major changes). Test a restore once.
– Use a reputable security plugin only if your host doesn’t already handle firewall, brute-force protection, and malware scanning.
– Keep WordPress core, themes, and plugins updated. Remove unused plugins/themes to reduce attack surface.
– Enable 2FA for admin logins. Limit admin accounts to those who really need them.
Step 12: Ongoing domain hygiene
– Monitor renewal dates. Auto-renew on, payment method current, secondary email in your registrar profile.
– Keep domain locked except during transfers. Know your EPP/Auth code and the 60-day transfer lock rule if you change registrant info.
– Review DNS annually. Remove stale records and validate SPF includes are current.
– Consider a secondary DNS provider or a CDN with proxy if uptime is critical.
Common mistakes (and quick fixes)
– Buying add-ons you don’t need: Many “security” or “SEO” upsells overlap with what WordPress or your host already provides. Start lean.
– No domain privacy: Expect spam if your email is exposed. Use privacy unless your TLD forbids it.
– Mixing www and non-www without redirects: Pick one canonical URL and 301 the other.
– Forgetting email authentication: SPF/DKIM/DMARC are table stakes now. Without them, your messages hit spam.
– Overlooking IPv6: If your host supports AAAA records, add them for future-proofing.
– Not testing from fresh networks: Use a mobile network or DNS tools to confirm propagation and SSL before announcing the site.
Real-world mini-scenarios
– New business, minimal tech time: Use WordPress.com or a managed WordPress host with a bundled domain. One dashboard, quick SSL, minimal DNS.
– Content-heavy blog with future growth: Register your domain at a dedicated registrar and host on a managed WordPress provider. Keep DNS at the registrar for easier scaling and migrations.
– Rebranding with a legacy site: Register the new domain, set up the new WordPress site on staging, then switch DNS with low TTL. Map old URLs to new ones with 301s to preserve SEO.
Choosing the right TLD (fast heuristics)
– Global audience: .com first choice; .co or .io acceptable for tech/startups if on-brand.
– Nonprofit/education: .org (global), .edu restricted.
– Local business: Your country-code TLD can help local credibility and search. Check residency requirements.
– Novelty TLDs: Useful for campaigns or memorable microsites. Weigh trust and phishing perceptions, especially for finance or healthcare.
Helpful tools
– DNS lookup: dig, nslookup, or web tools like DNSChecker.org to watch propagation.
– Site health: PageSpeed Insights, WebPageTest, GTmetrix.
– Security: SSL Labs test, SecurityHeaders.com to verify HTTPS and headers.
– Domain status: ICANN Lookup and RDAP outputs to confirm registration data and lock status.
A brief comparison to set expectations
Bundling your domain with hosting is like buying a phone directly from your carrier: smooth setup, fewer dashboards, but you’re tied closer to that provider. Buying the domain separately is more like bringing your own device—slightly more setup, more freedom to switch plans later.
Checklist: From zero to live
– Pick hosting model (WordPress.com, managed, shared, or DIY)
– Decide domain strategy (bundled vs dedicated registrar)
– Search domains, check trademarks, pick a TLD
– Register domain; enable privacy, auto-renew, lock
– Point DNS (nameservers or A/AAAA/CNAME records)
– Install WordPress and add domain in host panel
– Issue SSL, force HTTPS, set canonical URL
– Configure email MX, SPF/DKIM/DMARC
– Verify in Search Console, submit sitemap, disable “discourage indexing”
– Enable caching/CDN, image compression, and backups
– Calendar renewal and test a backup restore
Final thoughts
Domain registration and WordPress hosting aren’t just “first steps”—they’re foundational. The decisions you make now shape your site’s reliability, search performance, security, and total cost of ownership. With modest attention to DNS, SSL, and renewals—and by choosing whether to bundle or decouple with your eyes open—you’ll launch faster and with fewer surprises.
Now pick your path, secure the name, wire up the DNS, and hit publish. The rest of your WordPress journey will be that much easier.

Leave a Reply